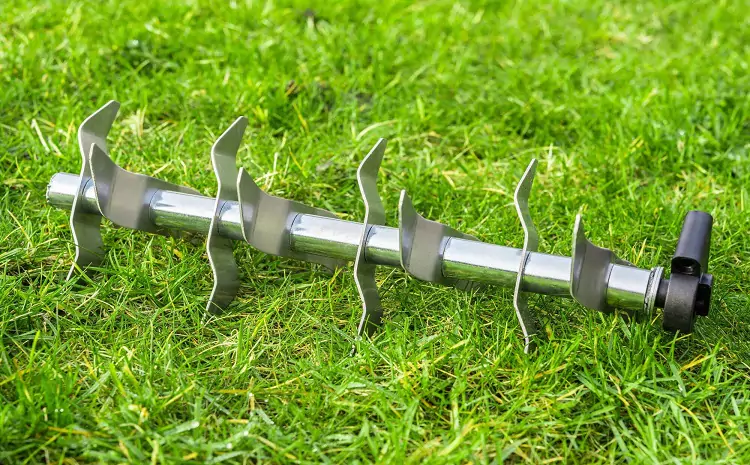
Maintaining a lush, green lawn is the dream of every homeowner. One crucial yet often overlooked aspect is lawn aeration.
Aeration allows air, water, and nutrients to penetrate the soil, enhancing the roots’ growth and ensuring a healthier yard. However, professional aeration services can be expensive.
Fear not! You can have the best aerator with these fantastic DIY lawn aerator solutions:
Spiked DIY Aerator
For homeowners with small to medium-sized yards, a spiked DIY aerator can be a cost-effective solution. Here’s how to create one:
Materials Needed
- Wooden plank (2×4 or 4×4)
- Long galvanized nails or metal spikes
- Hammer or power drill with screwdriver bit
Step-By-Step Process
Begin by cutting the wood to your preferred handheld length. Next, insert nails or spikes at regular intervals along the plank, bending nails slightly to prevent slipping. To aerate, firmly push the spiked plank into the soil, then pull up and repeat across the yard, ensuring full coverage. This method is ideal for flat lawns without significant slope variations.
If this is something that you want to pursue, be careful. If possible, consult with professionals like the people at Dempsterbrothers.com to ensure you do not damage any irrigation or utility lines.
Homemade Core Aerator
A homemade core aerator mimics the action of professional aerators by removing small plugs or ‘cores’ of soil from the ground.
Tools Required
- Garden fork
- Garden hose
- Flat board or wooden plank
- Tamp or large log
How-to Guide
First, water the lawn thoroughly to soften the soil. Then, using a garden fork, push and twist it into the ground to create holes at 6-8-inch intervals. Next, use a flat board or wooden plank and tamp to smooth out the holes left by the fork. This method is perfect for compacted or heavily trafficked lawns.
Liquid Aeration
If you have a considerable lawn or lack the physical strength to handle manual tools, liquid aeration for lawn can be an excellent solution.
Materials Needed
- Liquid aerator product
- Garden sprayer or watering can
Step-By-Step Instructions
Purchase a liquid aerator product from your local garden center and follow the instructions for mixing it with water. Next, fill a garden sprayer or watering can with the solution and apply it evenly across your lawn. This method is perfect for large or sloped yards.
Natural Aeration Methods
For those seeking a budget-friendly and eco-conscious approach, there are several natural aeration methods you can try.
Grass-Cycling
Allowing grass clippings to remain on the lawn after mowing is an excellent way to return nutrients and organic matter to the soil. It promotes healthy root growth. Aeration plugs can also be left on the lawn to decompose and enrich the soil.
Dethatching
Thatch buildup can restrict water and airflow to the soil. Using a dethatching rake or renting a dethatcher can help remove this layer and improve aeration.
Earthworm Introduction
Adding earthworms to your lawn helps aerate the soil. These creatures tunnel through the ground, creating passageways for air and water to circulate. This biological process not only enhances soil structure and drainage.
A DIY Lawn Aerator Is Within Your Reach
Maintaining a beautiful lawn doesn’t have to break the bank. With these DIY lawn aerator options, you can achieve healthy, vibrant grass without spending a fortune.
So, roll up your sleeves and get ready to give your lawn the care it deserves. Remember to consider your lawn’s specific needs and choose the best method that suits you. Happy aerating!
Did you find this article helpful? If so, check out the rest of our site for more.

Mark Thompson, a seasoned pest controller, is renowned for his expertise in keeping homes and businesses free from unwanted intruders. With a passion for environmental sustainability and a deep understanding of pest behavior, Mark has become a trusted authority in the industry.
