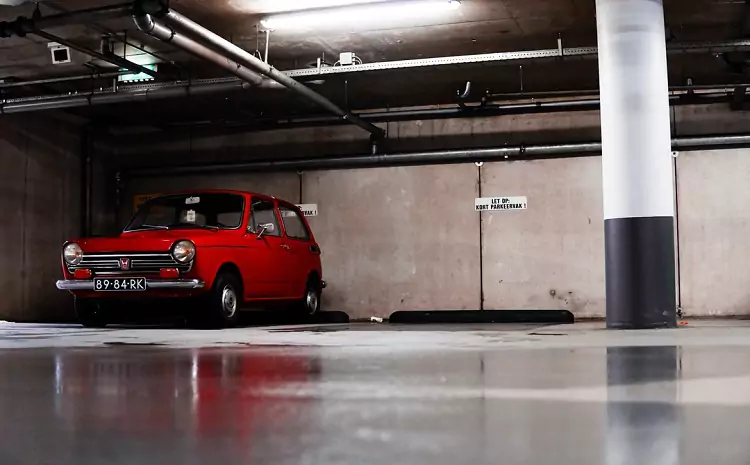
Are you tired of your dull, stained garage floor? Dreaming of turning that mundane space into a showroom that oozes style and practicality?
Epoxy flooring coatings can do just that, transforming your garage into a space that’s not only aesthetically pleasing but also durable and easy to clean.
If you are curious about the process, you’ve come to the right place. Let’s begin!
Preparation
Before you begin the application process, make sure you have all the necessary tools and materials ready. This includes protective gear such as gloves, safety glasses, and a respirator mask to protect yourself from any potential fumes or skin irritation.
Cleaning
Ensure that your garage floor is clean and free of any dirt, dust, or debris. Sweep and vacuum the surface thoroughly, and use a degreaser to remove any oil or grease stains.
Repair
If your floor has cracks or unevenness, it’s essential to address these issues before applying the epoxy coating. Fill in any cracks with a concrete patching compound and use a grinder to smooth out any high spots.
Etch
This step allows for better adhesion of the epoxy coating. You can use either an acid-based etching solution or a mechanical grinder for this process.
Application
Application methods may vary based on the type of epoxy coating you choose, but generally, they involve mixing the hardener and resin and using a roller or squeegee to apply the mixture evenly on your floor.
Cutting and Coating
Start by cutting in around the edges of your garage with a brush before using a roller to cover the rest of the surface. Work in small sections, and make sure to apply an even coat without any gaps or puddles.
For larger areas, consider using a squeegee for a quicker and more efficient application. Keep in mind that epoxy coatings have a short working time, so it’s crucial to work quickly.
Curing
Let it cure for the recommended time before applying a second coat. This allows for better coverage and durability of the final product. The curing time can vary depending on the type of epoxy coating, so make sure to follow the manufacturer’s instructions.
Adding Decoratives
You can then add decorative flakes or chips to give your floor a unique and personalized look. Make sure to evenly distribute the flakes while the surface is still wet for better adhesion.
The preparation might have been the simpler part. But if you are not comfortable with doing the above process for application, it’s always best to get help from experts like Garage Force in Houston or your local area.
Finalize
After the floor has fully cured, you can add a clear topcoat for added protection and shine. If desired, you can also add non-slip additives to prevent slips and falls on your newly coated garage floor.
For some, applying an epoxy flooring coating may seem like a daunting task, but with the right preparation and techniques, it can be a fun and rewarding DIY project. So go ahead, and give your garage floor the makeover it deserves!
Follow This Guide to Installing Epoxy Flooring Coatings
Epoxy flooring coatings are a fantastic way to transform your garage into a stylish and durable space. With the right preparation and application techniques, you can achieve a professional-looking finish that will not only enhance the appearance of your garage. It can also make it easier to maintain.
Remember to always follow safety precautions and instructions while working with epoxy materials. Get started on your epoxy flooring project and enjoy the benefits it brings!
Should you wish to read more, visit our blog.

Mark Thompson, a seasoned pest controller, is renowned for his expertise in keeping homes and businesses free from unwanted intruders. With a passion for environmental sustainability and a deep understanding of pest behavior, Mark has become a trusted authority in the industry.
